Wednesday, 16 March 2016

Vegan Purse for daughter

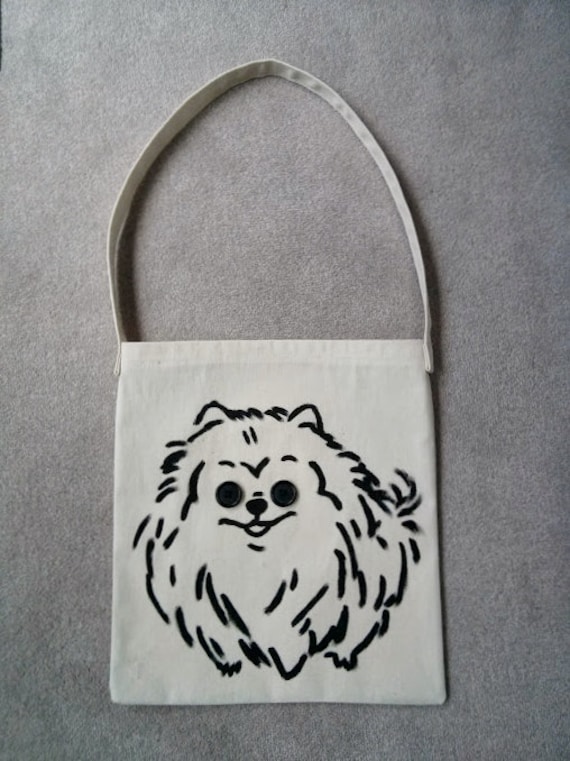
Yes, we're vegan and don't mind advertising it once in awhile.  I made this bag specially for her to take to work.  She was working at GNC and they banned backpacks to prevent staff from stealing.  Yet you could carry a huge bag ??? go figure.  Anyway, she asked if I'd made a large bag for her to wear cross body that would hold all her school books so she could study at work during her breaks.  

I used 2 of those free zippers in this bag and made the strap extra wide.  I find that adding more top stitching down the strap helps to reinforce it.  Doing that to all my straps now.    

The strap is shorter than usual as she said it's easier to carry all that weight when it's up closer to her torso.  Hey, I just follow orders :).  

 Daughter on the treadmill in the background :).


Hoodies with Zippers

Made 3 hoodies.  I just can't have too many hoodies as wear them around the house, to the gym, under coats in Winter, etc.  

These separating zippers were a real find.  Got 105 of them free at a place that recycles textiles, etc.  Have been using them in bags, purses, jackets, etc.

I made the other "hoodies" with no hoods as thought they'd be cute.  Not cute and regret doing so.  See them below.


Here are the first 2 I made without hoods.  Have since added pockets to them all.  Frustrating not having somewhere to put my keys when out and about.  They're all really flattering on as are shaped in at the waist and slope down at the back.

I've had this pink fabric hanging around for ages, was nice to finally use it up.
 This is my favourite fabric as is a really fluffy grey.  Unfortunately it's pilling quite a big (thanks to the fluff) but I still really like it.  Bought the fabric at Fabricana but didn't buy enough for a hood or pockets.  The pockets I added were from old jeans the same colour and I really like the look.

Ruffled Baby Bloomers

I made a 3rd pair in dark green with beige lace.  They're actually my favourite.  Didn't bother getting a pic of them.  

No, don't have any babies to give them to.  Not really gift worthy as no top or dress to go with them.  They're just made out of scraps and lace I thrifted from Value Village a couple of years ago.  

I'm a parenting coach so may just offer these to a client or something, not sure?  


Zipper Bags, fully lined

When I feel like sewing I don't always have a project in mind.  That's when I turn to stash busting.  Here are some little zipper bags I made from scraps.  They're all lined and I just made zipper pulls out of ribbon for an added touch.  

What sparked these projects was that I found a bag of about 20 7" zippers at Value Village for around $2.  

No idea what I'm going to do with these bags, probably just give them to a homeless shelter.  


Tuesday, 5 January 2016

Computer Bag from old Army Duffel Bag

My daughter's boyfriend told her he'd love it if I made him a computer bag for Xmas.  Perfect!  I went on the hunt for some fabric and lucked out.  I found 2 huge army duffel bags at Value Village.  They were filthy and even had a name and number on them so were obviously used and looked really old.  Washed them twice so they were all clean and ready to sew with.  

I love upcycling and this was a perfect project.  The pic below is the new bag beside the remaining duffel bag. The computer bag took me 8 hours to make as I don't have an industrial machine so had to hand crank a lot.  The computer bag took almost every bit of fabric from the other duffel bag which I was surprised at.  I'm obviously not good at eyeballing fabric as thought I could get 2 bags out of each duffel.  

Don't have any plans for the other duffel bag ... yet.     


I lined the inside with a pair of my daughter's old jeans.  Even unpicked some back pockets from another pair of her jeans to sew into the bag.  Told him he can carry her with him wherever he goes.  Was tempted to put some of my old pockets inside also so he could carry me around too but resisted. He wanted a bag with a flap but I also added a zipper panel so it would be more secure.  I made the strap extra wide and put several rows of stitching down it so it would be extra stable.  Hardest part was sewing the straps to the bag, machine was coughing and sputtering through same.  I make a lot of bags so often think I should bite the bullet and get an industrial straight stitch machine ... maybe one day.  


I'm happy to say he loves the bag and it really suits him.  Was probably my favourite sewing project of the year.    

Wish I liked taking pics as made a ton of stuff recently:  
- 10 walker bags for my Mom's care home
- dog coat for a friend's dog which I made out of an old skirt she gave me.  
- workout shorts for daughter using her old shorts to copy (best way to get a perfect fit)
- lots of tote bags for people
- hostess gifts galore
- Spiderman purse for a little girl
- etc.

All for now, Lisa


Tuesday, 14 April 2015

Tuesday, 20 May 2014

Doggie Bag ... of sorts


Rico was my model for this doggie bag.  It wasn't that I expected it to turn out or anything, was just experimenting with this project.  I put it on my Etsy page to see if it sells and if it does, I'll make more.  Might use my other dog as the model next time.  


Here's what I did.  
  1. Found a drawing on-line of a pomeranian.  Use drawings or outlines so I don't use up the entire ink cartridge.
  2. Printed it out on normal paper.
  3. Traced over it with tracing pencil I bought years ago for projects to transfer cartoon characters onto my kids' clothes.
  4. Turned it over onto a panel of fabric and ironed like mad.  Takes forever and even ended up tracing over it again and again to get it to transfer.  I don't remember it being that difficult to use before, maybe I had a hotter iron then or the pencil was newer and worked better, don't know?
  5. I then painted it with a paint pen but that didn't look great so just used a thin brush and used regular paint from the $ store.  At 99 cents per bottle it's a real deal.  I also bought some fabric medium to add to it if painting onto t-shirts or anything that I don't want to be stiff. But I didn't bother with the medium for this project.
  6. The key to making the paint durable is to use a hot iron on the paint for about 3-5 minutes.  I make sure there's a thin layer of cotton between the iron to project it from any iron stains or burn marks.  I've done this with many projects and the paint lasts through the wash beautifully.  But the iron really has to sit on the design for several minutes to seal it into the fabric.  
  7. Once I decided the painting was a success I turned it into a bag and added a couple of buttons for eyes.  
  8. Size is perfect for small laptop and some books and made sure the handle was long enough to wear over the shoulder.  
I don't sew to sell, I sew for fun.  But when I do sell things from time to time it helps pay for this pricey hobby :).

I've moved my sewing room downstairs in the rec room so will have to take some pictures of that new set-up.  It doesn't look as nice down there as isn't a pretty room like the other one.  But once I get some time I'm planning on painting all the furniture white so it'll brighten things up and make it look nicer.  

Lisa.